How to sow wildflower seeds
Here’s our simple guide to sowing wildflower seeds, so you can create the perfect bumblebee-friendly meadow patch in your own garden or green space.
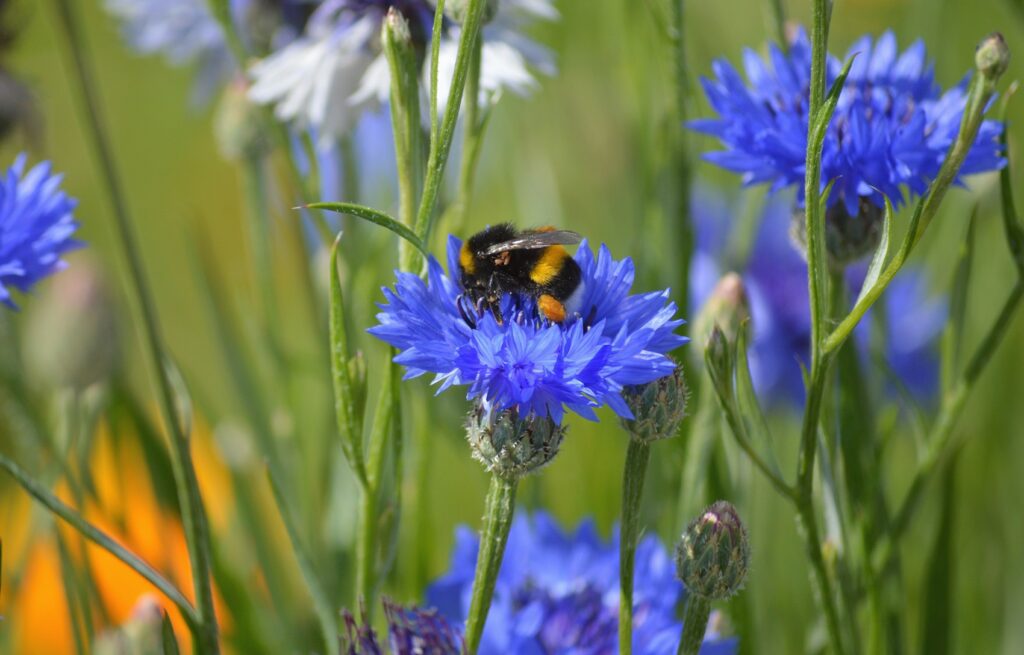
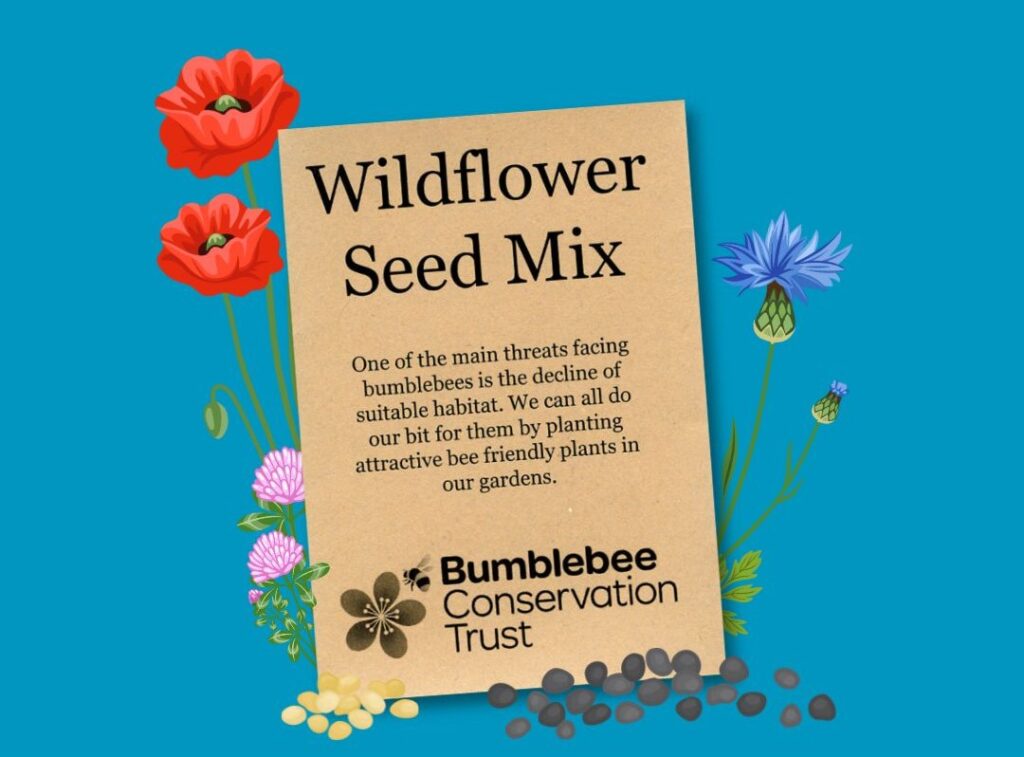
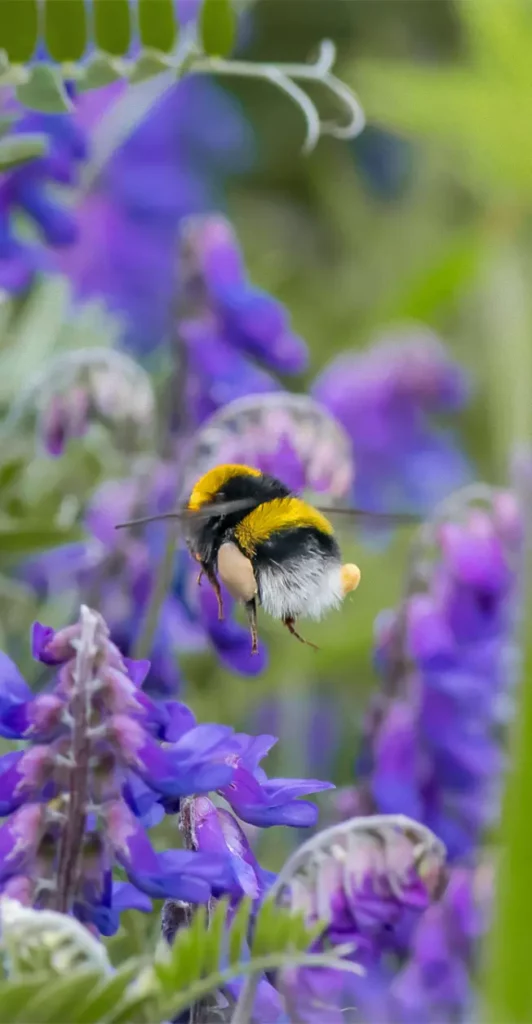
Wildflowers not only add natural beauty and colour to your garden, but they also provide essential food and habitat for bumblebees. So, whether you’re a gardening enthusiast or a beginner looking to enhance your surroundings, read our step-by-step guide to help you create a flourishing wildflower patch that bumblebees will love!
If you purchased your wildflower seeds from us, your packet will contain a mix of annual and perennial wildflowers.
Annual wildflowers grow from seed, flower, and die all in the same year. They are quick to establish and colourful – great for instant impact in year one.
Perennial wildflowers come back year after year. They usually take longer to get going, but once established, they return and bloom again for many years.
A mix of both gives you quick colour now and ongoing benefits for bumblebees in the future!
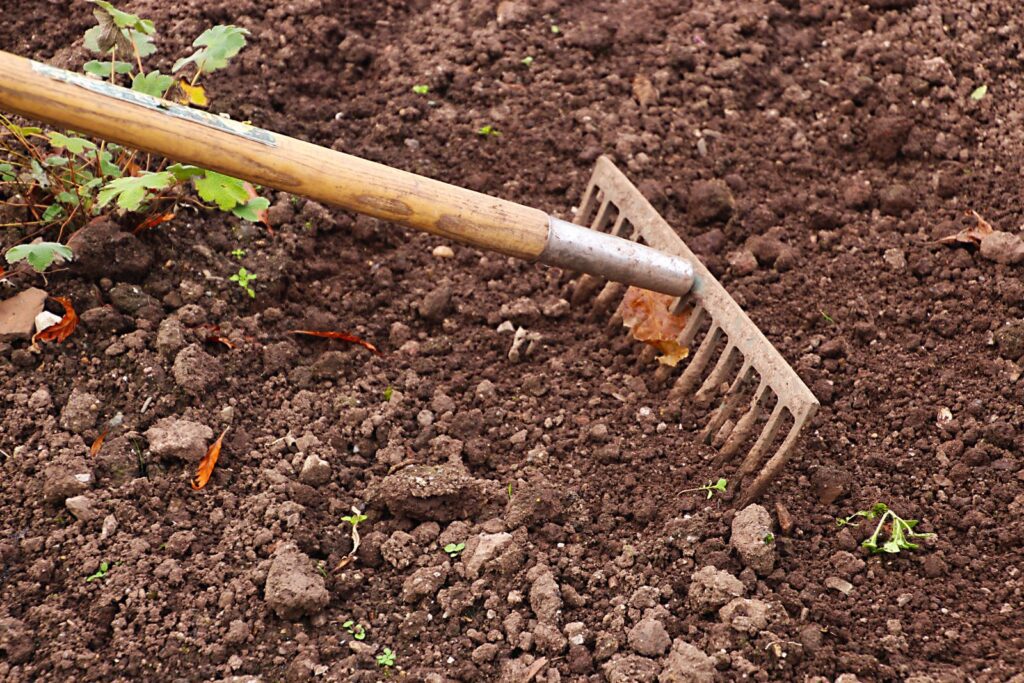
Step 1: Preparing the ground
- Choose a sunny, open spot – your wildflowers will do best in the sun. This could be in a border, or a new patch created in your lawn.
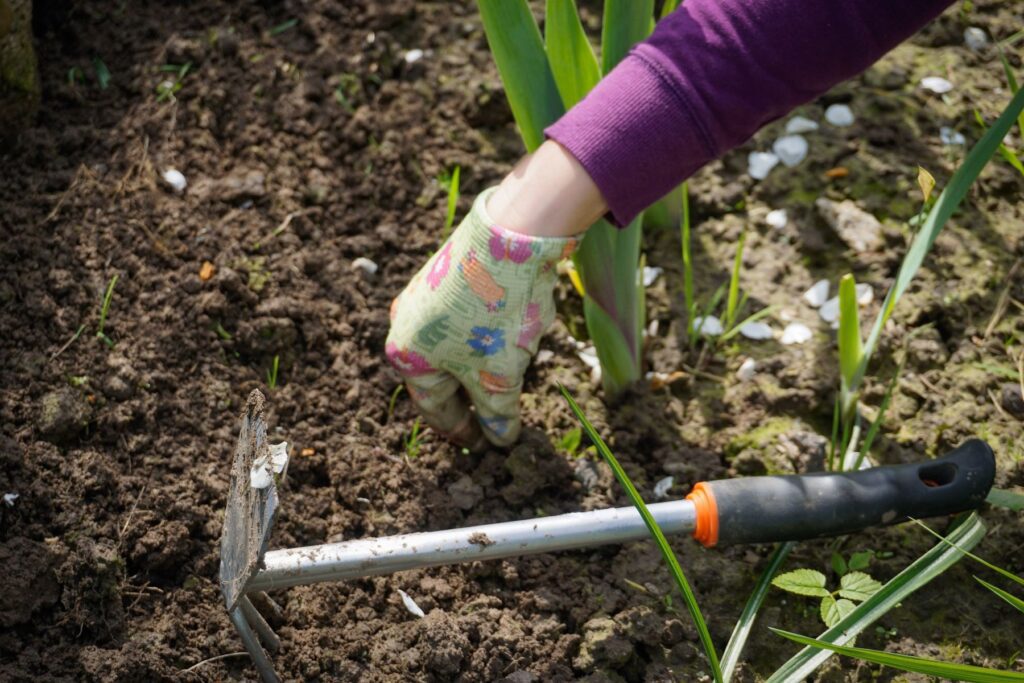
- Clear away grass, weeds, and roots completely. Wildflower seeds struggle to compete with vigorous grasses and weeds. Clearing the ground gives them space and light to grow.
- Dig or rake the soil surface to create a fine, crumbly texture.
- Avoid adding compost or fertiliser – wildflowers thrive in low-nutrient soils.
Step 2: Sowing the seeds
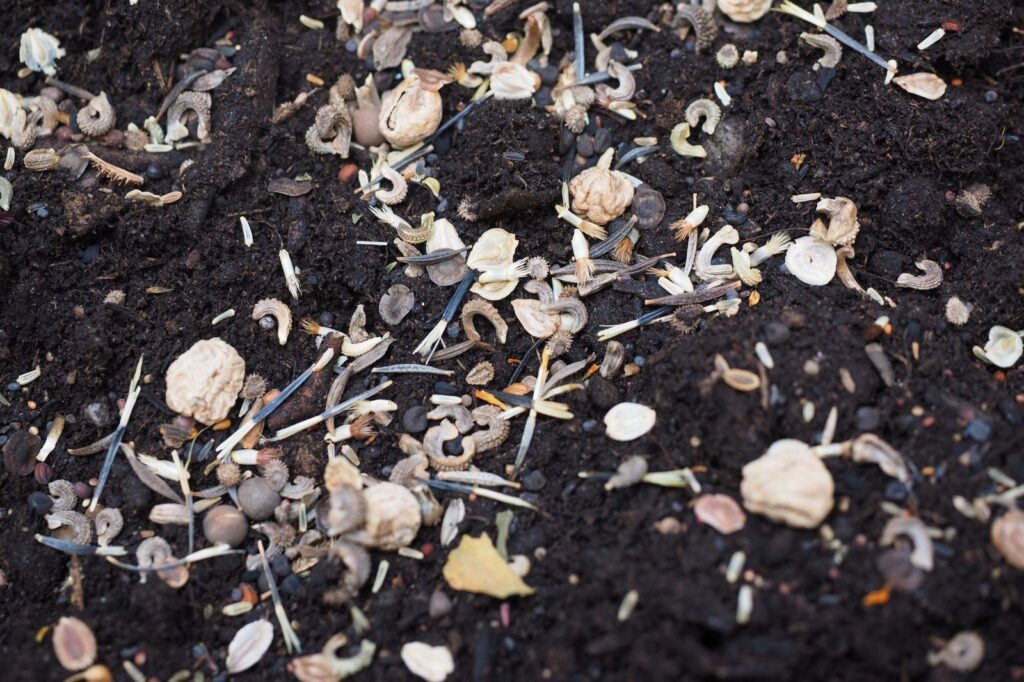
- Mix your seeds with dry sand (5 parts sand to 1 part seed). This will make it easier to scatter your seeds evenly.
- Scatter thinly and evenly across the soil.
- Gently firm down with a board or your feet – there is no need to bury the seeds. Wildflower seeds need light to sprout, and pressing them in ensures contact with the soil, which helps them take root.
- The best times to sow your seeds are spring (March-May) or early autumn (Aug-Oct). This is when the ground is warm (but not too hot or cold) and there is some moisture in the soil.
Step 3: Care before germination
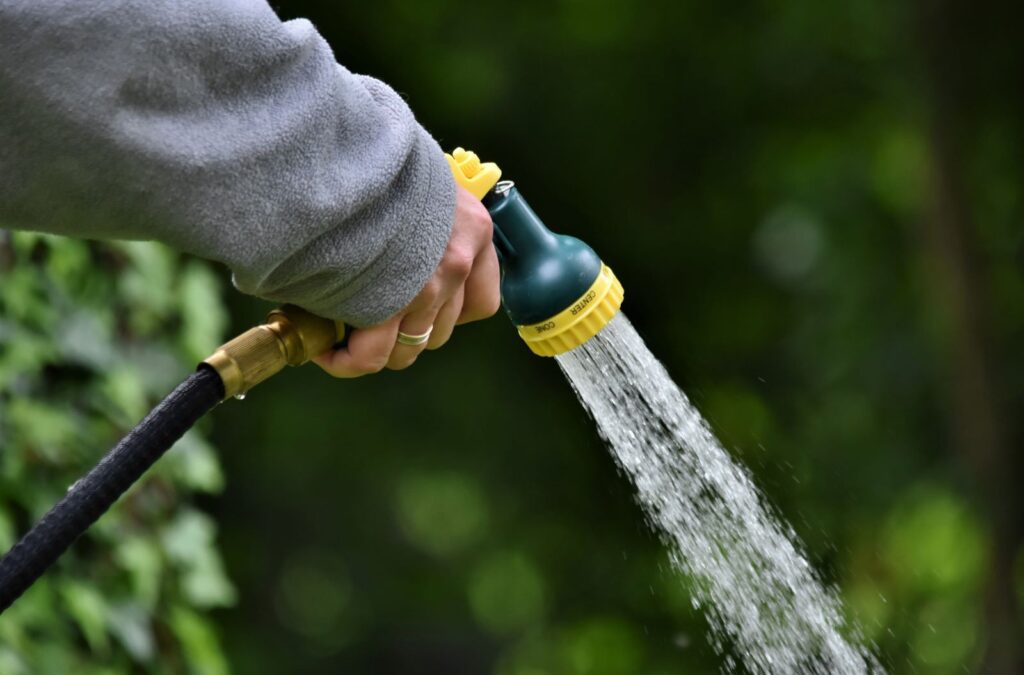
- Water gently to keep the soil moist, especially during dry spells. Seeds need moisture to sprout.
- Try not to walk on the patch while the seeds are establishing. Disturbing the soil can displace or damage delicate seedlings.
- Be patient! Germination can take a few weeks, especially for perennials.
Step 4: Care after germination
- Watch out for fast-growing weeds such as docks or nettles – gently remove them. Weeds can outcompete young wildflowers before they are fully established.
- Annuals will flower in year one; perennials take longer but return year after year. Annuals give quick results, but perennials build a lasting habitat.
Cutting your wildflower patch
To keep your patch healthy and buzzing with life, it’s important to give it a trim once a year. Here’s how:
When to Cut
- Late summer to early autumn is best – around August to September, after most flowers have finished and seeds have dropped.
How to Cut
- Cut everything down to about 5-10 cm tall.
- Use shears, a strimmer, or scythe – whatever works for your space.
- If possible, rake up the cuttings and remove them. Add them to your compost heap or garden waste.
Why This Helps
- Cutting stops grasses from taking over and keeps wildflowers coming back.
- Removing cuttings keeps the soil low in nutrients, which wildflowers love.
- It gives space for new seeds to sprout next year!
What to Expect
- Your wildflower patch may look patchy in year one – that’s normal!
- The best displays often appear from year two onwards.
- Every flower helps pollinators. With time, your patch will be buzzing with life!